How are Aluminum Extrusion Dies Designed?

Designing an aluminum extrusion die requires careful planning and precise decisions. Each choice affects how well the die produces aluminum profiles. A small mistake can cause problems in the final product.
This process involves applying engineering principles and practical experience. The goal is to create a die that produces accurate profiles quickly and consistently.
Below, you will find a clear list of the main steps and important points in aluminum extrusion die design. Let’s explore the process step by step.
Learn more: The Ultimate Guide to Aluminum Extrusions Dies
How to Prepare for Aluminum Extrusion Die Design?
Good preparation at this stage helps avoid mistakes later. Think of it as setting the table before you serve the meal.
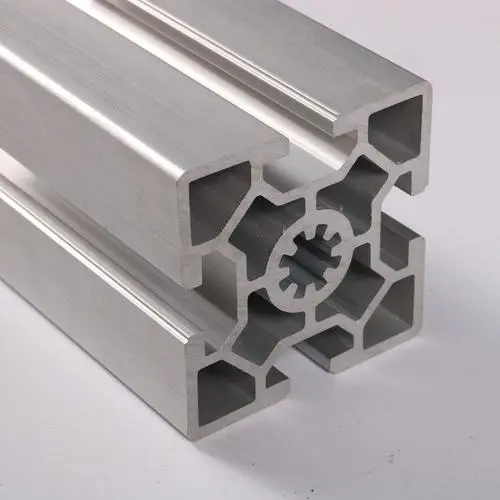
Check Profile Dimensions and Tolerances
Review the exact size of the aluminum profile. Note the allowed deviation for each measurement. The die, the extrusion machine, and the process all affect these numbers. Record the target dimensions and the acceptable range before starting the design.
Choose the Correct Extruder Tonnage
Select an extruder with the right tonnage for your profile. Match the machine’s strength to the shape and size of the aluminum. The extrusion ratio affects the profile’s strength and appearance. Base your decision on the product’s needs.
Aluminum Extrusion Mold Design
- Set Main Parameters
Decide the extrusion shape. Record the finished product size, material, billet diameter, and wall thickness. Use these numbers as the starting point for your design.
- Draw the Design
Create drawings based on the set parameters. Show the cross-section size and shape clearly. These drawings guide the next steps.
- Make CAD Models
Use CAD software to build 3D models and 2D drawings from your design. These files help with production and quality checks.
Each step moves the design from idea to reality. Missing a step can lead to errors in the final product.
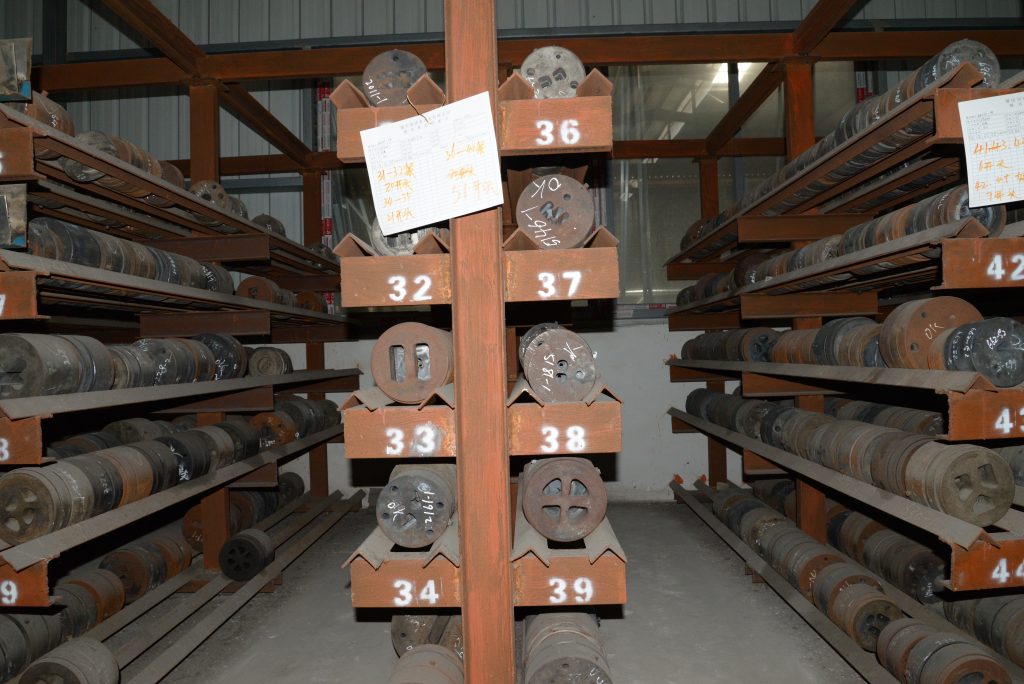
Mold Processing Steps
- CNC and EDM Machining
Load the CAD drawings into the machine. Use CNC and electrical discharge machining (EDM) to cut and shape the mold. These machines follow the design and create accurate details.
- Finishing and Deburring
After machining, use finishing tools to smooth the mold. Remove sharp edges and leftover material with deburring tools. This step prepares the mold for use and improves the final product.
Clear steps and careful work here lead to clean mold and better aluminum profiles.
Detailed Mold Design for Aluminum Extrusion Dies
- Set Welding Chamber Height
Set the welding chamber height at 10–15% of the inner diameter of the extrusion cylinder. This range helps create enough pressure for proper welding. - Calculate the Die Hole Size
Use the formula:
A = (1 + K)A₀ + T
- A₀ is the nominal profile size.
- T is the allowed tolerance.
- K is an empirical value between 0.006 and 0.012.
This formula adjusts for mold expansion and keeps the profile within the required limits.
- Design a Working Belt and Relief
Divide the profile cross-section into segments based on wall thickness. Set the working belt length for each segment so that metal flows evenly.
Shape the relief (empty knife) to match the profile’s thickness and shape. This step lowers resistance and keeps the mold strong.
Each step supports accurate mold design and helps produce quality aluminum profiles.
Other Considerations
- Manage Flow Rate Deviation
Check the aluminum flow rate during design. Review chamber size, chamber length, and working belt segments. Large differences in flow rate can cause mold clogging or uneven profiles. Adjust these factors to keep the flow steady. - Select Proper Relief Size
Choose the relief (empty knife) size based on die size and extruder tonnage. A relief that is too small can cause the working belt to deform or crack. A relief that is too large can lead to mold clogging. Find a balanced size for smooth operation.
Careful checks at this stage help prevent problems during production. Small adjustments now can save time and material later.
Final Thoughts
Aluminum extrusion die design needs careful planning and exact calculations. Each step affects the final quality of the die and the aluminum profiles.
A good die leads to strong and accurate aluminum profiles. Care at each stage brings better results and fewer problems down the line.
Hugh Aluminum is a manufacturer in China with 15 years of experience. We design dies, apply powder coating, perform anodizing, and handle CNC and polishing work. We offer reliable products at factory prices.